Getting Started in Digital Painting
Many of you have asked me about it. Today, I'm going to talk to people who are curious to learn digital painting. With a little practice and diligence, digital painting will have no secrets for you. No, I'm exaggerating. I'm still learning a little more every day.
I want to warn you, this is not a "Tuto", there are already plenty on Youtube. My goal is to see with you some fundamental points following my personal experience. What are the things to know? How and where to start? To get there, let's start with the basics! To excel in the field, you need to know what you are talking about, where you are going. Let's start with a little reminder of what digital painting is.
"YOU SAID DIGITAL PAINT... WHAT"?
According to Wikipedia, "Digital painting is a form of digital art that emerged in the 1990s in which traditional painting techniques, such as watercolor, oils, impasto, are applied with digital tools through a computer, a graphics tablet, a pen and software" Ok... What you need to remember: it's computer painting, and you need the gear;
"WHAT EXACTLY IS NEEDED?
Obviously, who says "digital" says computer or tablet. "Elementary my dear Watson"! But don't panic! No matter the brand, or the support (desktop computer, Windows laptop, tablet, Mac...), you just need enough power to avoid incessant lags and, a good quality screen that will faithfully reproduce colors. And if possible big enough for more comfort.
The next logical step? Yes, you need a graphics tablet. A graphic tablet combines two elements:
1/ An active flat surface of low thickness, commonly called "the tablet". In general, it has the dimensions of standardized paper formats (A6, A5, A4, A3), or more recently of computer screens tending towards the panoramic. The object has more or less wide edges for ergonomic reasons (possibility of holding the tablet without touching the active surface, storage space for the associated tool) and functionality (configurable keys corresponding to those of the computer keyboard).
2/ A pen that can be used like a pen, but without ink and exclusively for drawing on the tablet. It can be equipped with customizable buttons and completed with other specific pens, an airbrush or a mouse.
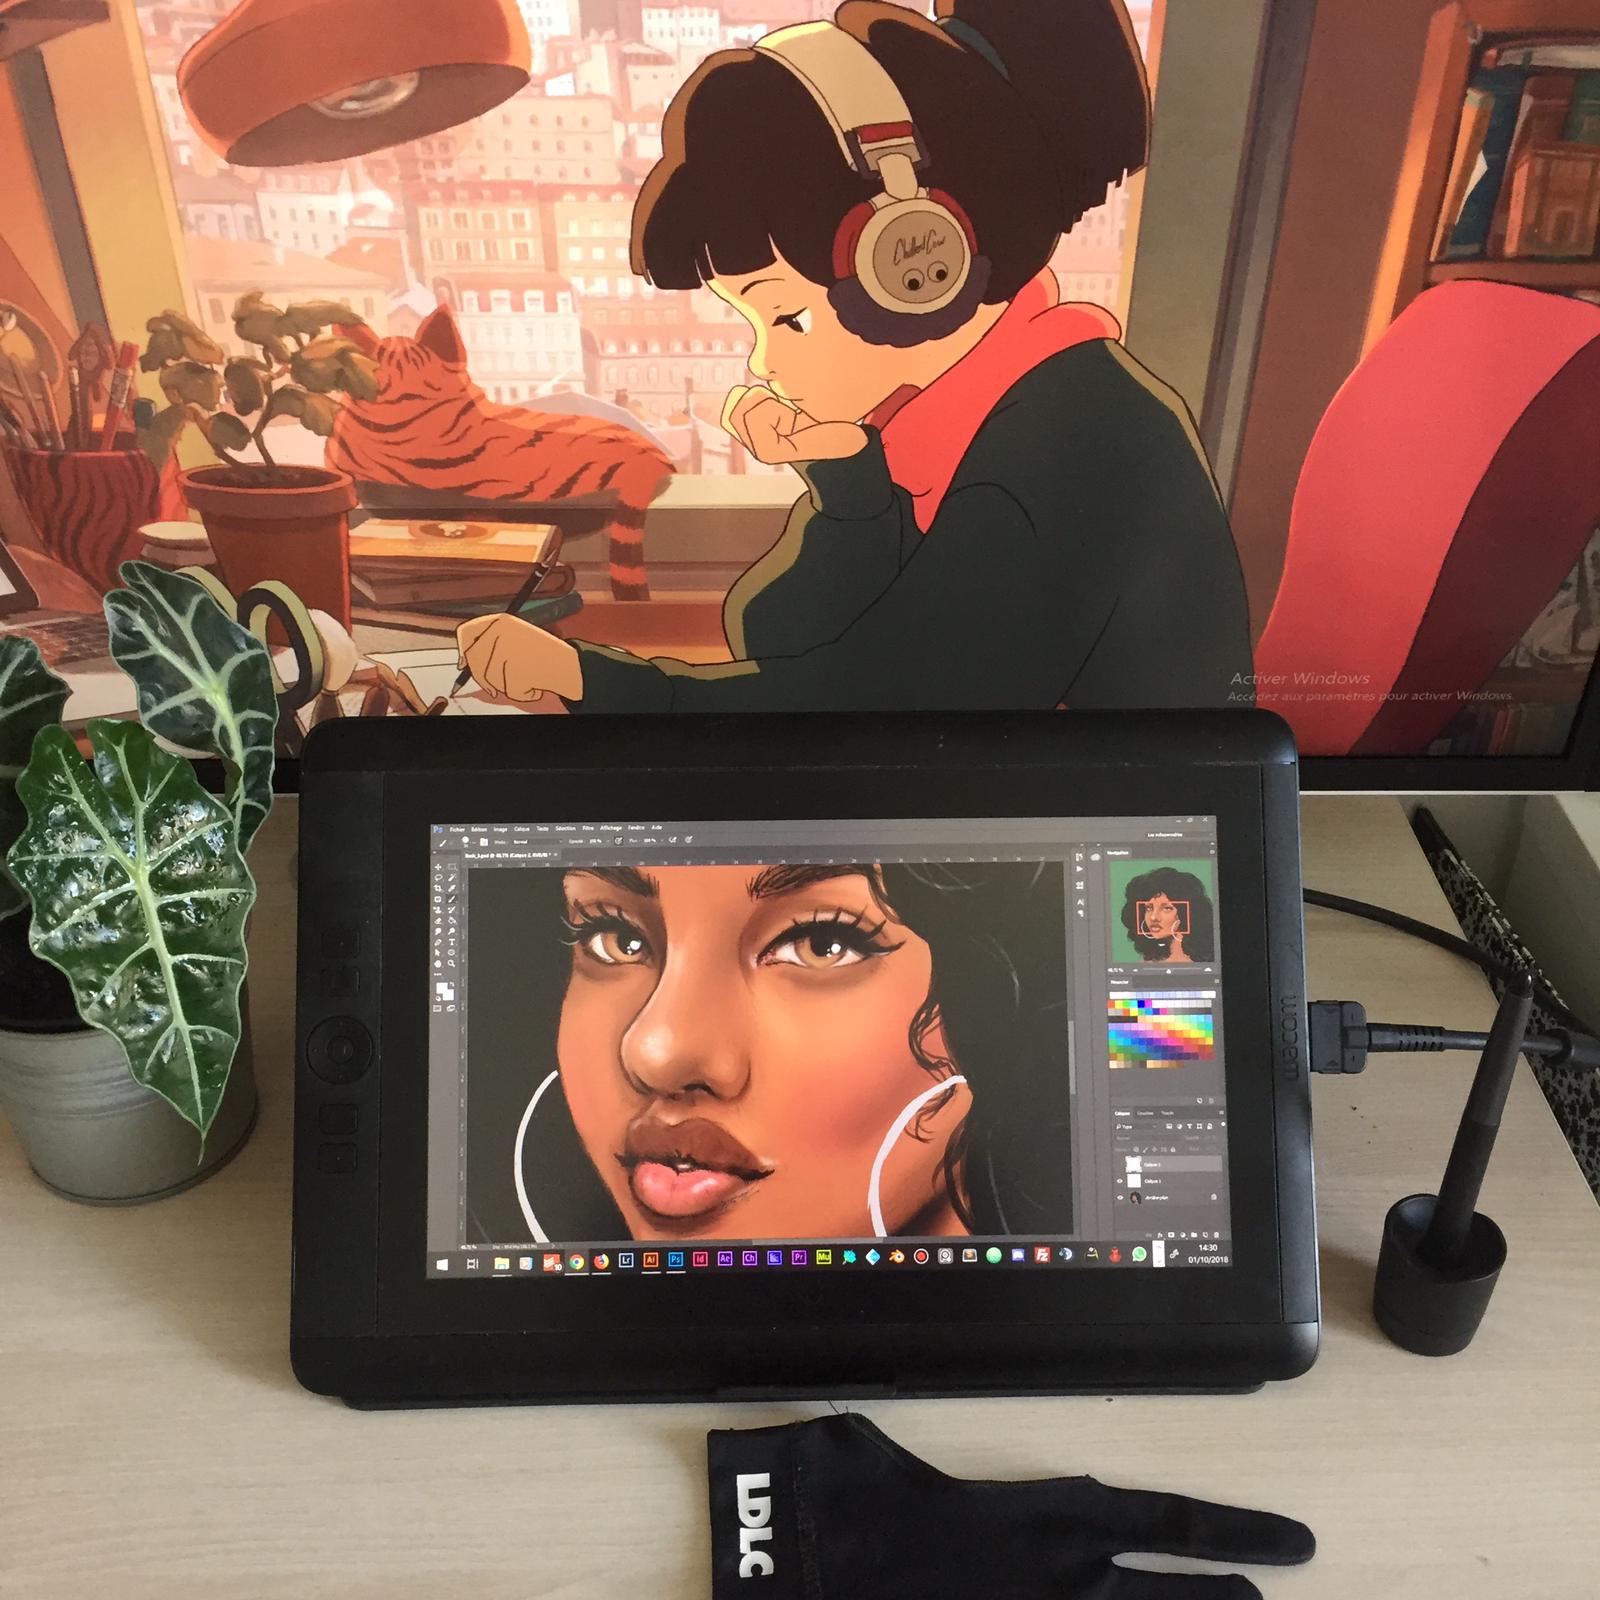
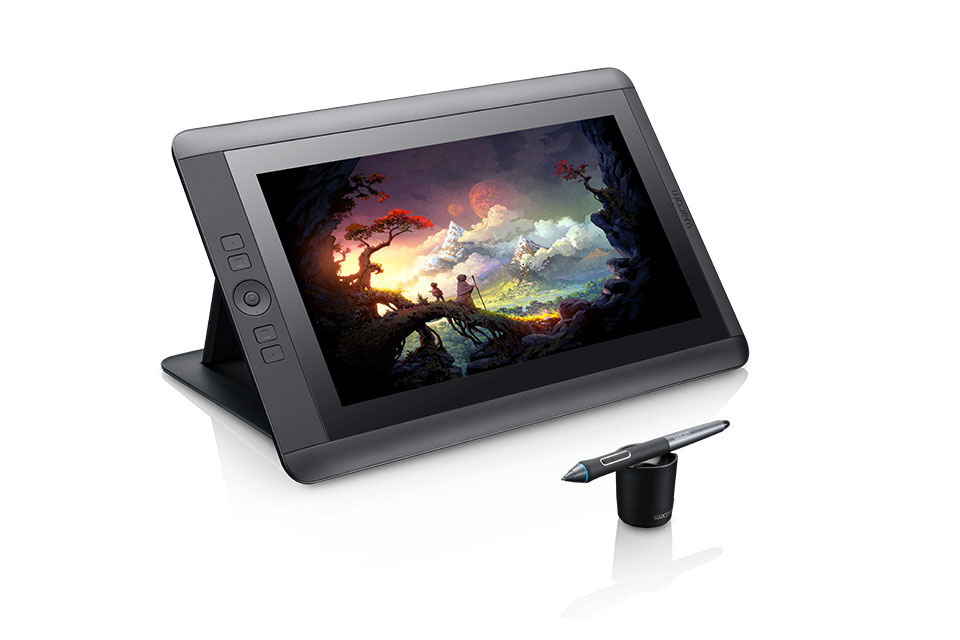
Basically, a surface to draw on and a pen. Today I own a Wacom Cintiq 13 HD but I started with a Wacom Bamboo tablet that I found for 50€ on leboncoin. You'll see, you can do great things for less. To start, the Bamboo graphics tablet is more than enough. I used it for 3 years and I still use it today when I travel. Don't forget it:
"It's not the tablet that does the work but the artist."
Here is a free tutorial to guide you and give you an idea of the different ranges of the brand Wacom
What's next? After the tablet? Of course you need a image creation software (Photoshop, Corel Painter, Paint, Procreate on Ipad...). For my part, I use Photoshop. I have tried Corel and it was very helpful for the linework. I felt much more comfortable with it. But special mention for Photoshop. It's the software I master the best.

"ONCE WE HAVE THE MATERIAL, WHAT DO WE DO?"
Learn to explore and master the basics of the software you have chosen and which will have seduced you! The different tools (Eraser, eyedropper, brushes, finger...), the different effects (filters, settings...) but also and above all the functioning of the software (layer, group, work plan, mask, opacity...). These are important steps, not to be neglected. Once you have managed to answer the question "Which tool will I use to do...?", you can then ask yourself "How will I draw what I have in mind?" or "What will I draw? Then comes the time for the first drawings and the famous TUTOS!
"TUTO YOUR LIFE!"
The tutorials were very important to me. You can find everything from linework, textures, colors, computer drawing techniques. Everything is there. You have to be patient, practice, try to understand what you see to be able to use your knowledge in other drawings, in other cases. Little bonus: Here is an interesting link to adjust your brushes for lineart: Here
"BE CURIOUS!"
I think it's really important to follow the work of other digital painters. It allows you to see them evolve, and at the same time boosts your motivation. They too had to go through it, had to learn, break their teeth, start over, spend sleepless nights, get depressed. With a little work and perseverance, you can do it. If you recognize your weaknesses afterwards, don't give up. Study! Again and again and again. You'll see, you'll have fun with the lines and colors, the brushes and the shapes. You enjoy creating and there is never enough time to draw everything you want to draw.
"IT'S ONLY HARD WORK THAT PAYS OFF!"
Final tip. You must find the techniques that suit you, that you feel comfortable with, and always work on your shortcomings. Don't put pressure on yourself, everyone moves at their own pace. Adopt a "Zen attitude". It's always better to learn while having fun, right?
I hope this article has helped you to see a little more clearly. If you have any questions, feel free to send them to me, and I will answer them in the next article. And if you want to share your paintings, projects and productions with me, FEEL FREE!